In this tutorial, I will take you step by step through the process of creating your own 3D transition for Powerdirector. This should basically work for any version of Powerdirector.
We all know that it is an easy job creating your own Powerdirector alpha transitions, as Cyberlink made a Transition Designer available to its users. However, when it comes to 2D & 3D transitions, it’s another story.
With this tutorial I hope to help someone out there who wants to create a custom transition. For this, you will need three tools:
1. Powerdirector itself.
2. Blender, a free 3D modelling software.
3. Autodesk FBX converter, also free.
In this example, I’m just going to give a basic example to get you going. With creativity, you will be able to create complex 3D transitions within no time.
Ok, so lets start.
1. You already have Powerdirector. If you don’t, you can download Powerdirector 12 Lite version here: DOWNLOAD
2. Download and install Blender: DOWNLOAD
3. Download and install FBX Converter: DOWNLOAD
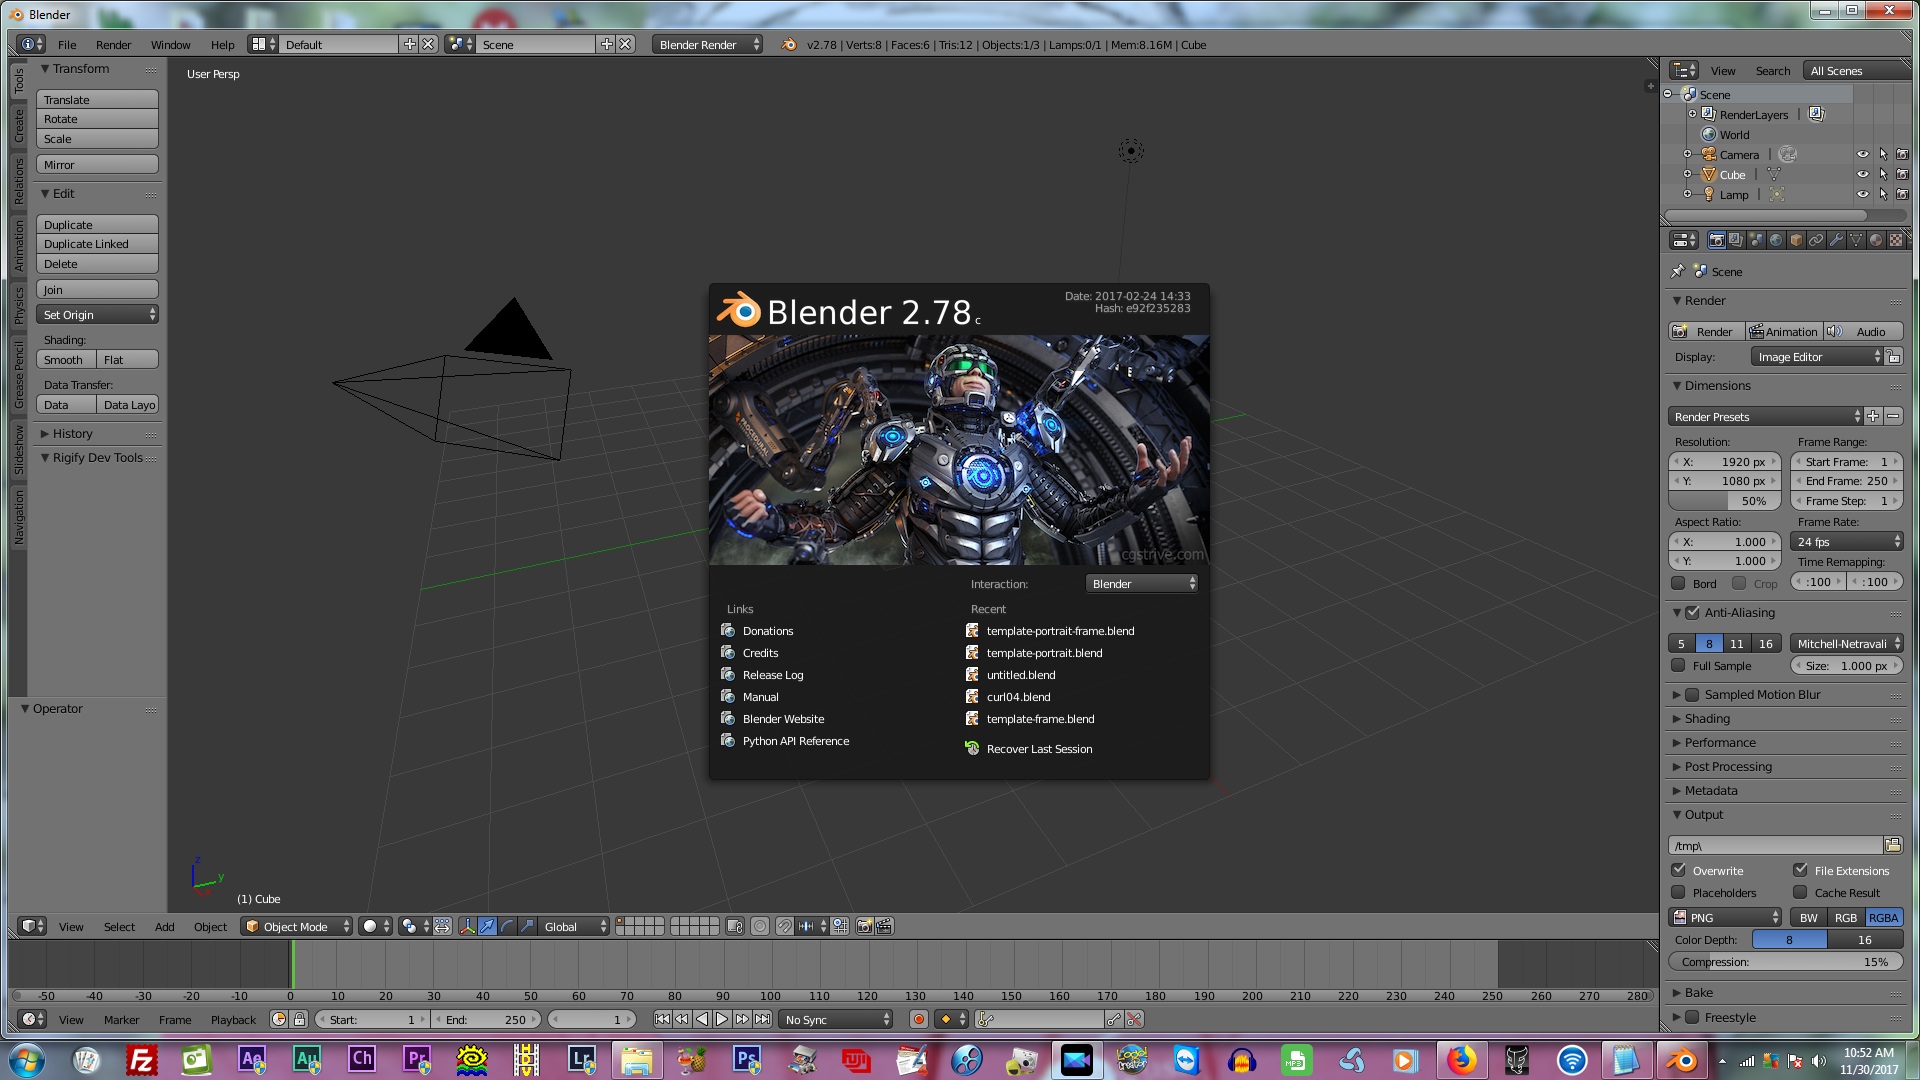
Ok, now we have Powerdirector, Blender, as well as Autodesk FBX Converter installed. First we are going to launch Blender. Below is a screenshot of the Blender interface. Please do not be intimidated by it as I was in the beginning.
Now after you startup Blender, just left-click on the Blender LOGO and it will disappear.
You will be presented with the
1. default camera
2. the default cube and
3. the default light like in the below image.
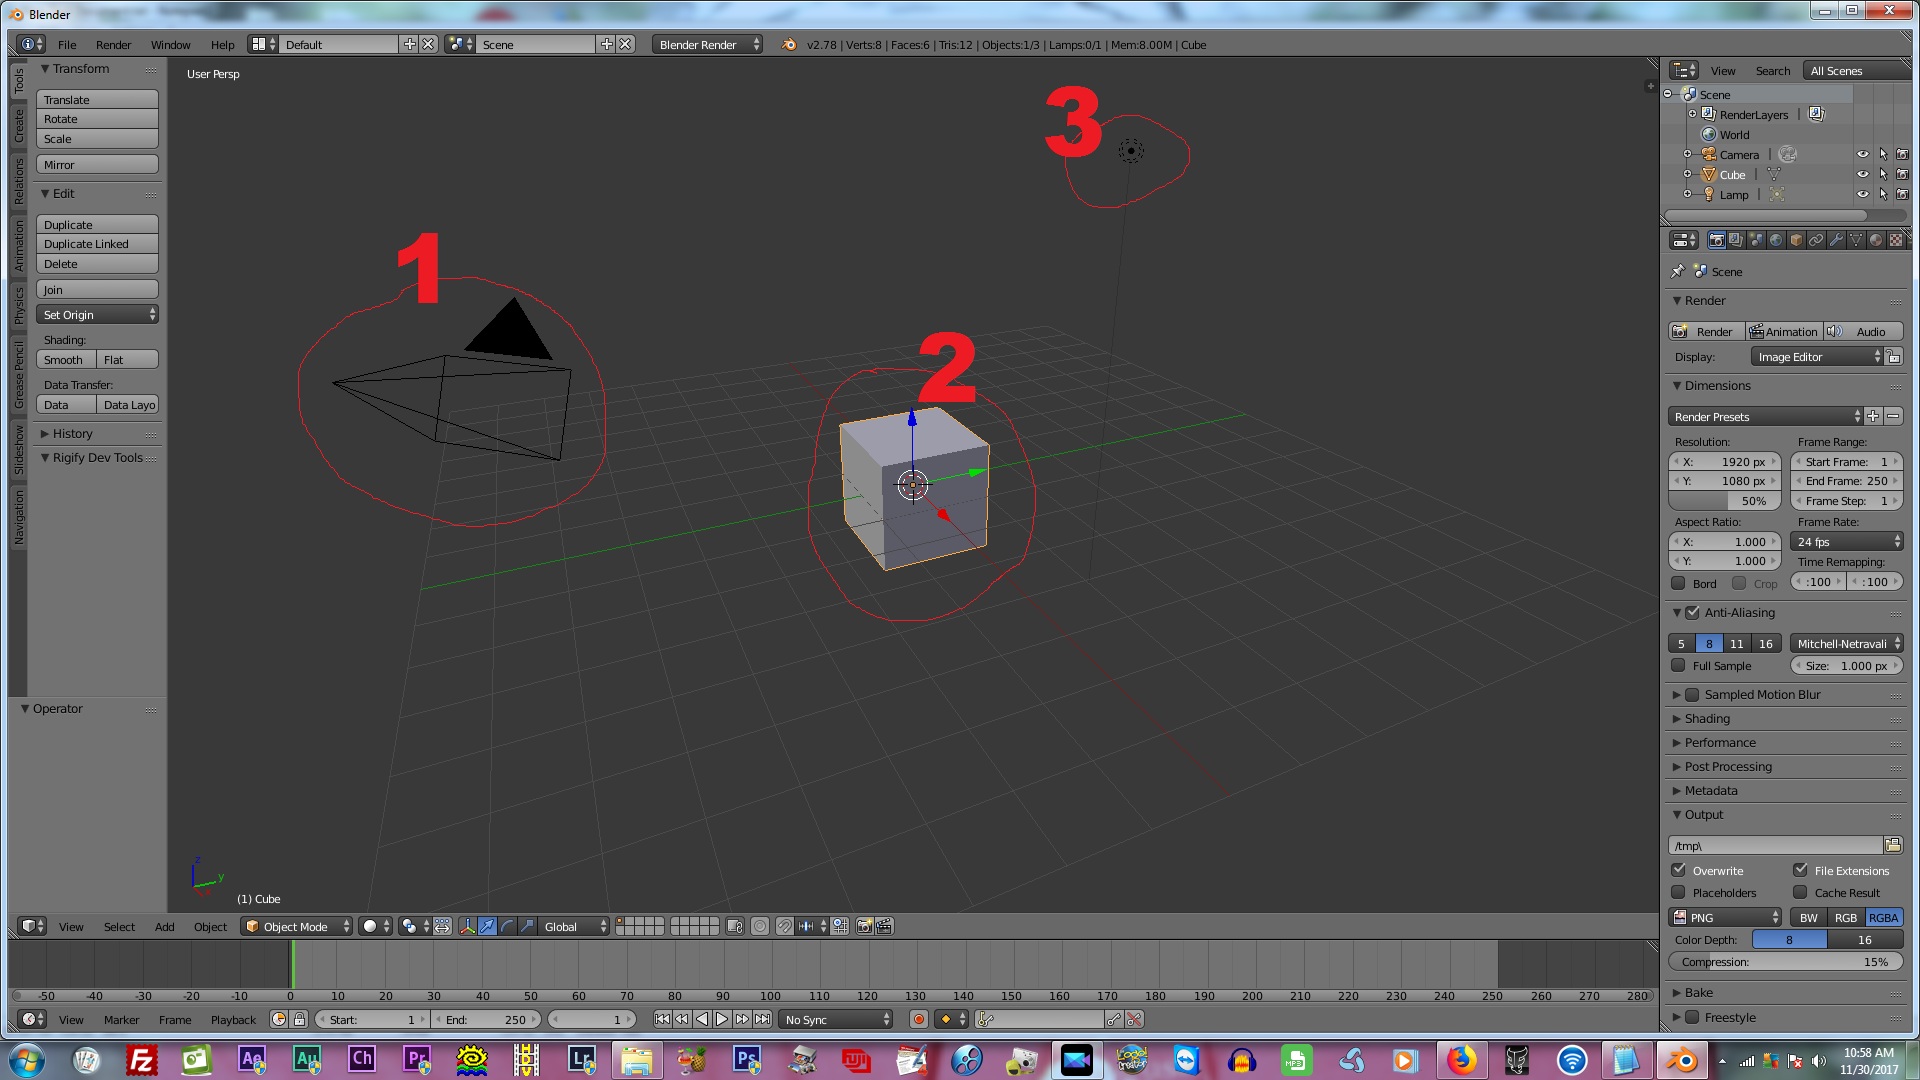
We won’t need the default light and cube, so we can delete them both. To do this, select the light by right-clicking on the light to select it and then press the “Delete” button on the keyboard. See below.
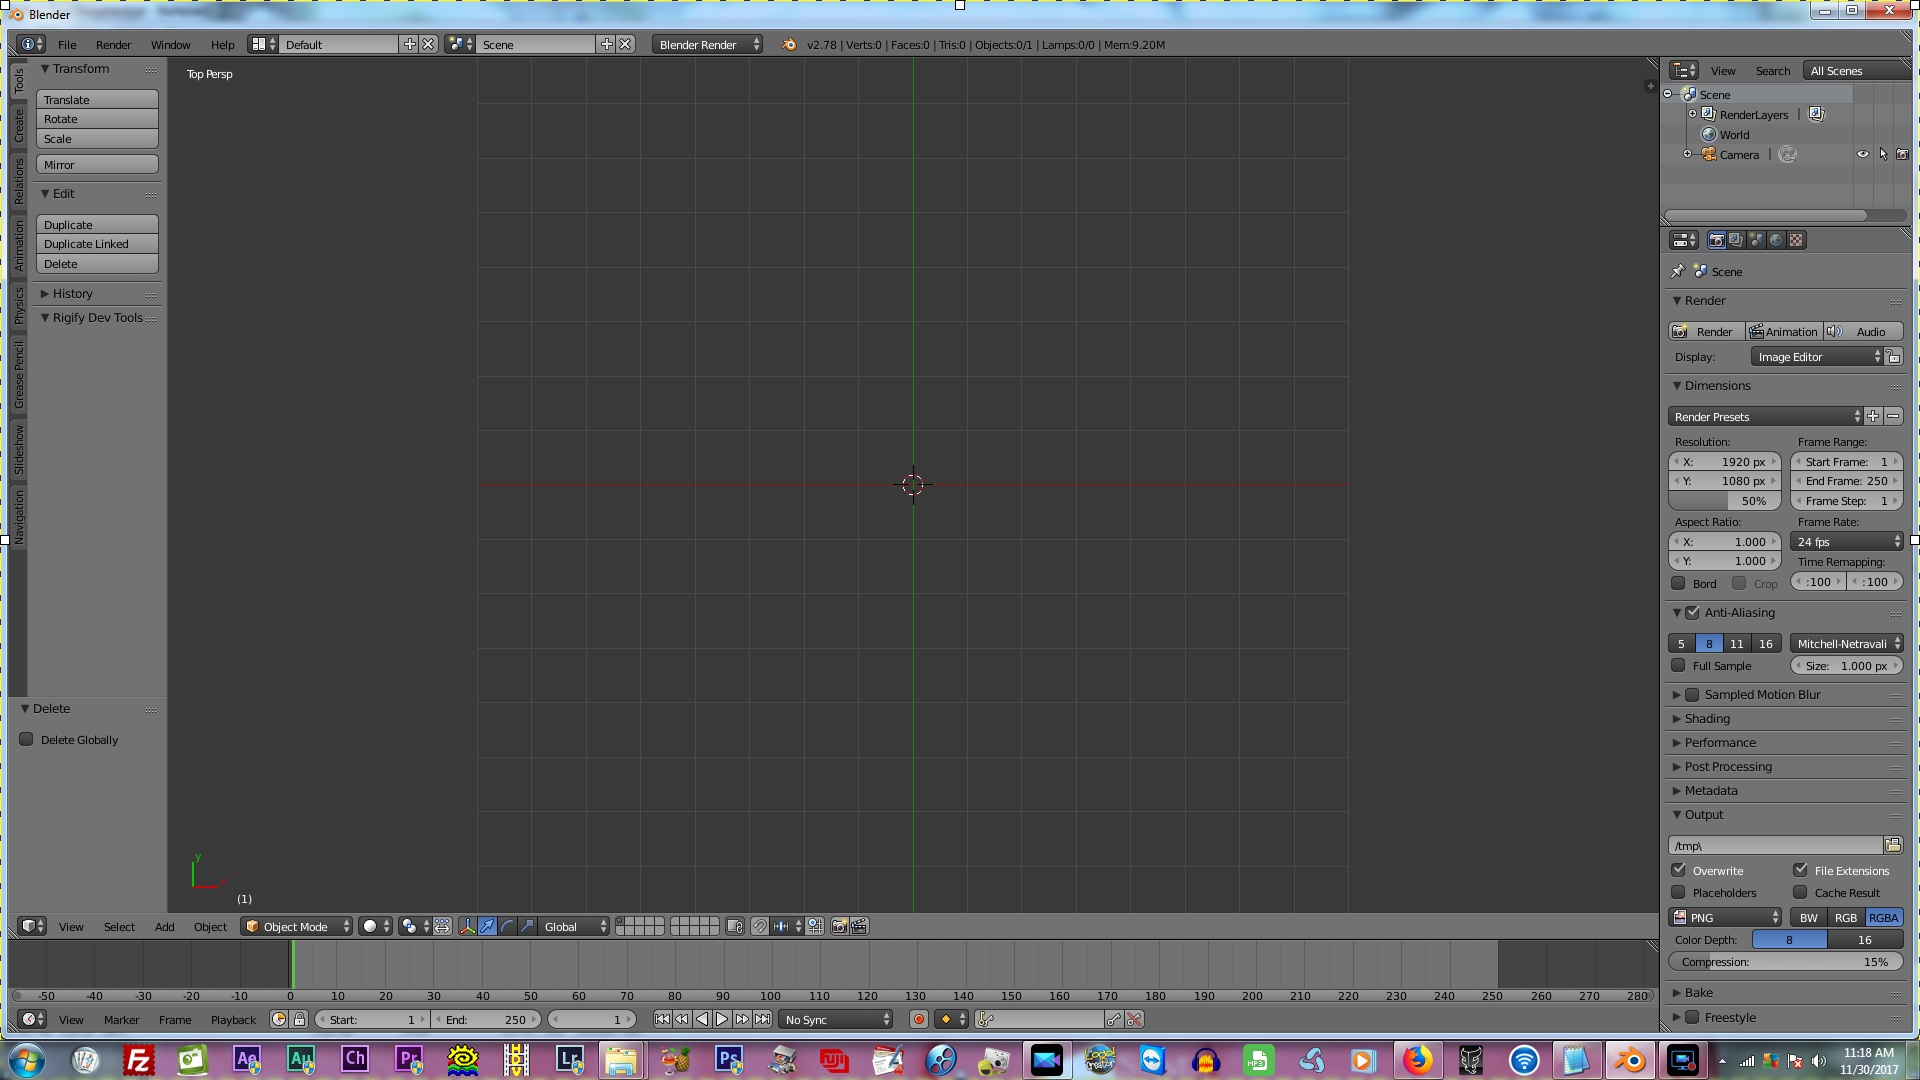
Now we need to center the grid and camera. To do this, do the following:
1. First select the default camera by right-clicking on it.
2. Now press 7 on the NUMPAD. Your work area should now look like the image below.
Now press CTRL + Alt + ZERO (on the numpad) and your work area should look like below. The orange border you see, is the camera view and you will work within this area.
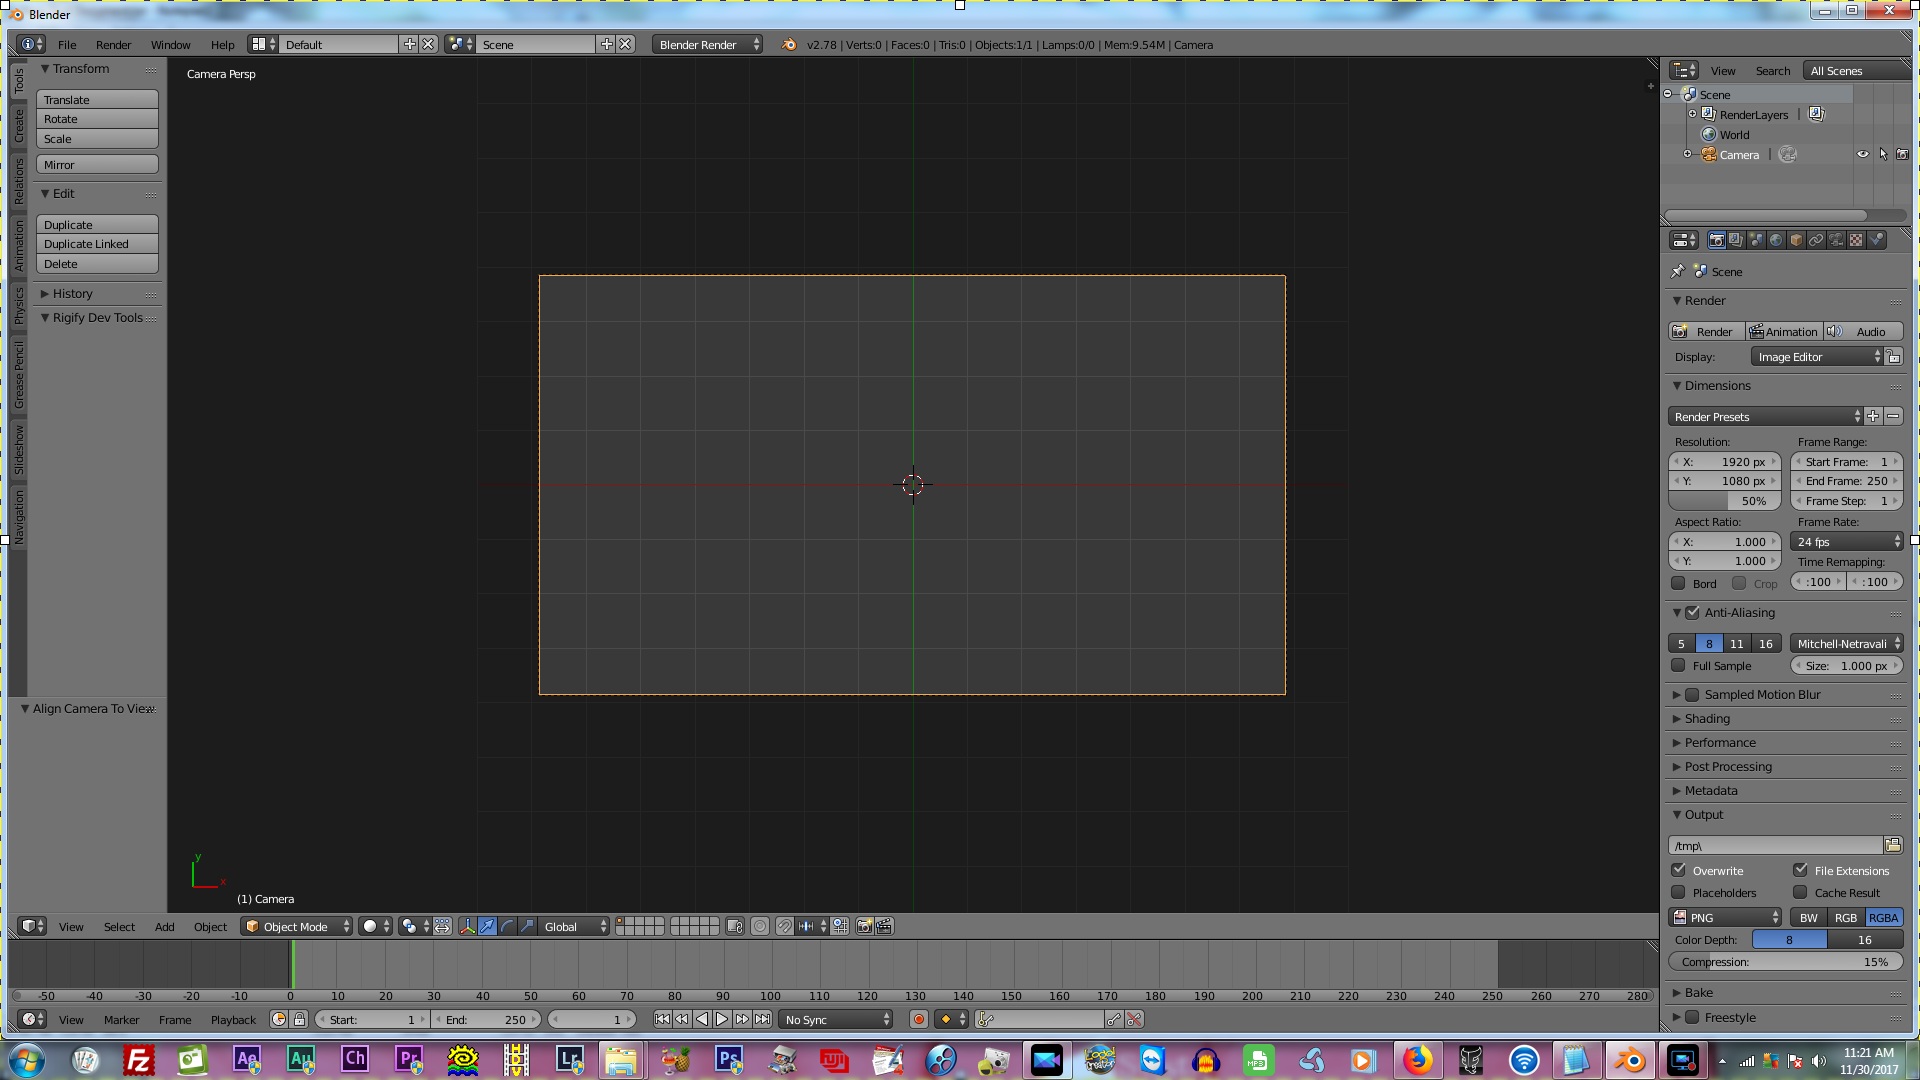
Now play around with this a few times to get used to these steps, as you will do this every time you startup Blender. In the next tutorial we will import our custom images and create two simple planes as placeholders for our videos.
When you are ready for the next step, go to PART #2 of our tutorial
Thanks for taking the time to teach us how you create custom templates. I look forward to the next installment of the tutorial. Will you be emailing members a notification of when you post the next update?
It’s my pleasure. Sure I will send out an email notifying members 🙂
I got to the first part of this tutorial, downloaded Blender and then decided to look through the Youtube help videos, just to get a handle on what Blender does. Wow!! Then I looked at an Ian Hubert presentation, and then a “Blender Guru” clip.
Now, after about four hours I’m back and ready to follow your tutorial.
It’s like stepping into the Tardis.
Really looking forward to this.
Yes, Blender is an AMAZING software. It’s unreal that it is completely free! On the other hand, Blender is a handful, but once you know your way around, it’s just a pleasure to model with. All the best with Blender, as that is the most intimidating part of this tutorial! 🙂