In PART #1 we have learned how to startup Blender and prepared our work-area.
In this tutorial we will take it a bit further by actually creating our transition in Blender. Of course this will not be our final transition for Powerdirector, but only the template we will be using in Powerdirector.
Let’s get started:
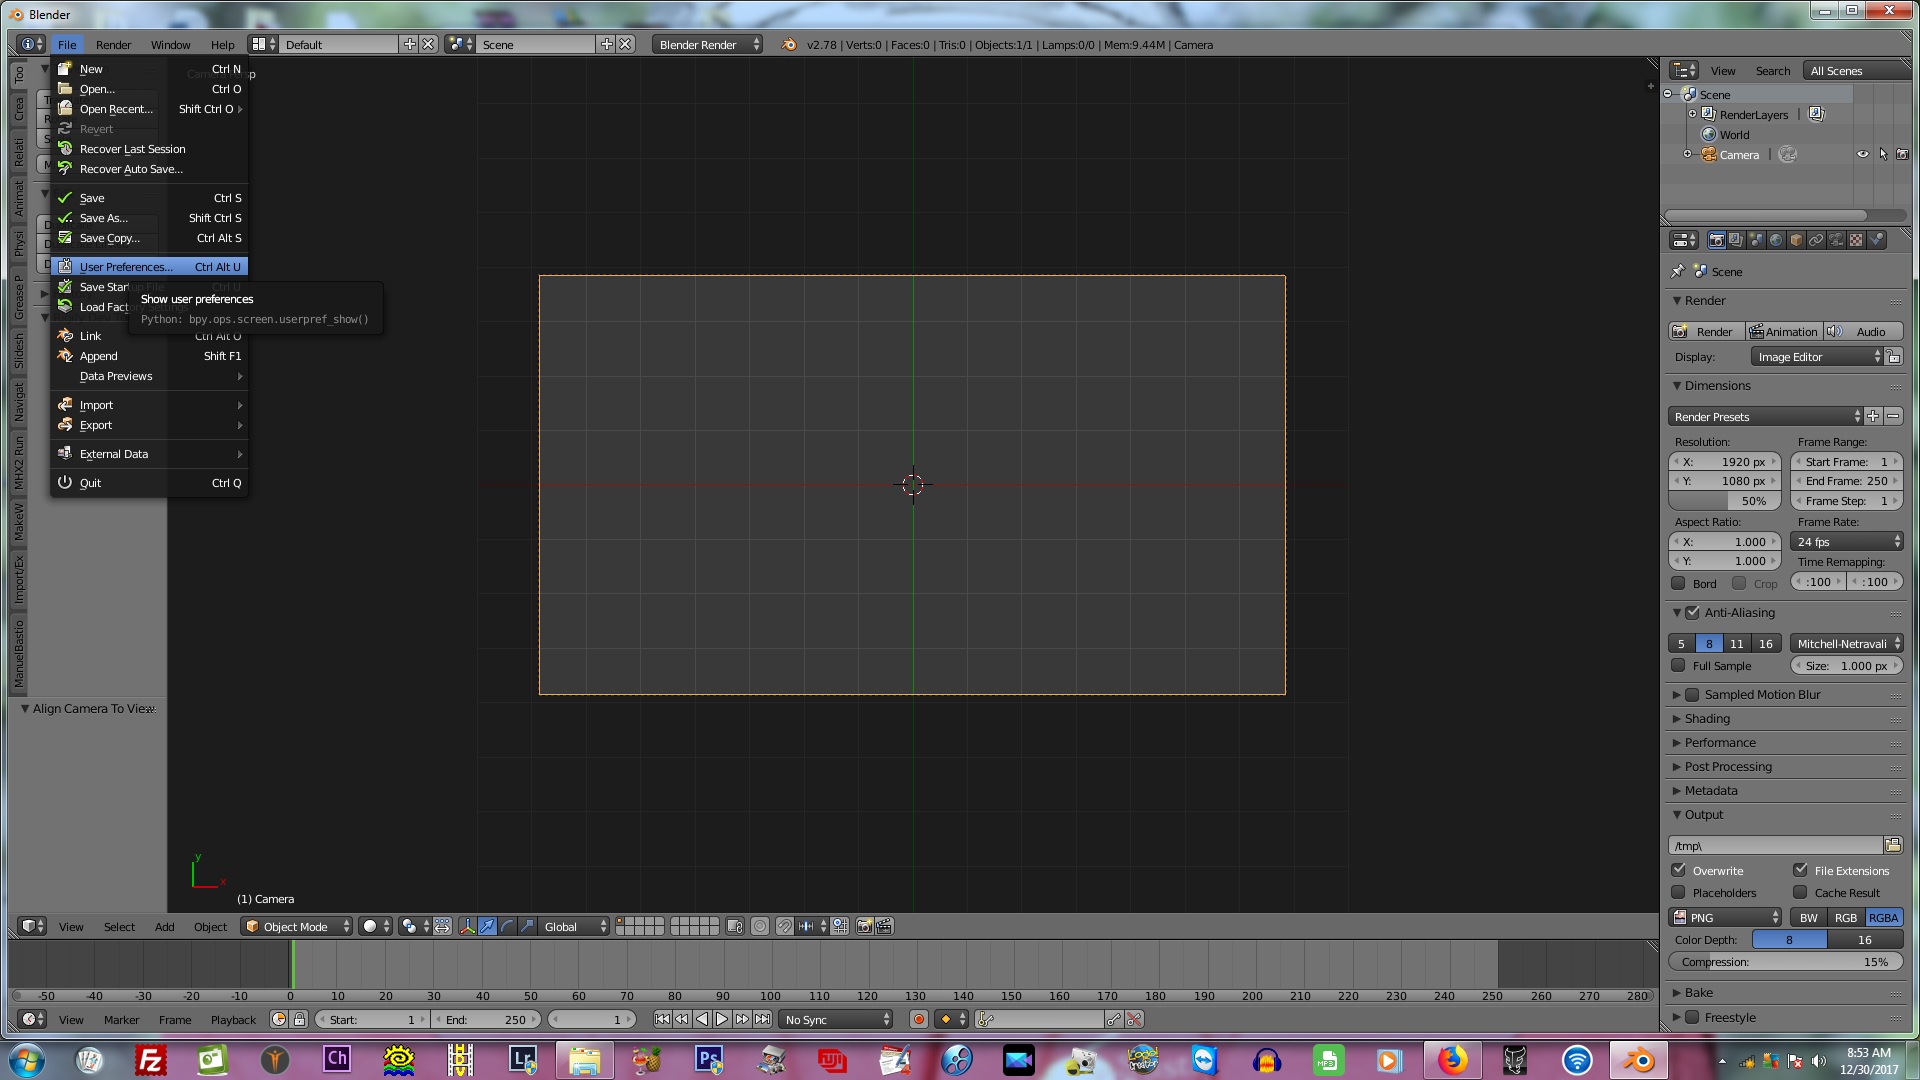
With Blender open, go to File–>User Preferences as in the image below.
You will be presented with the following screen.
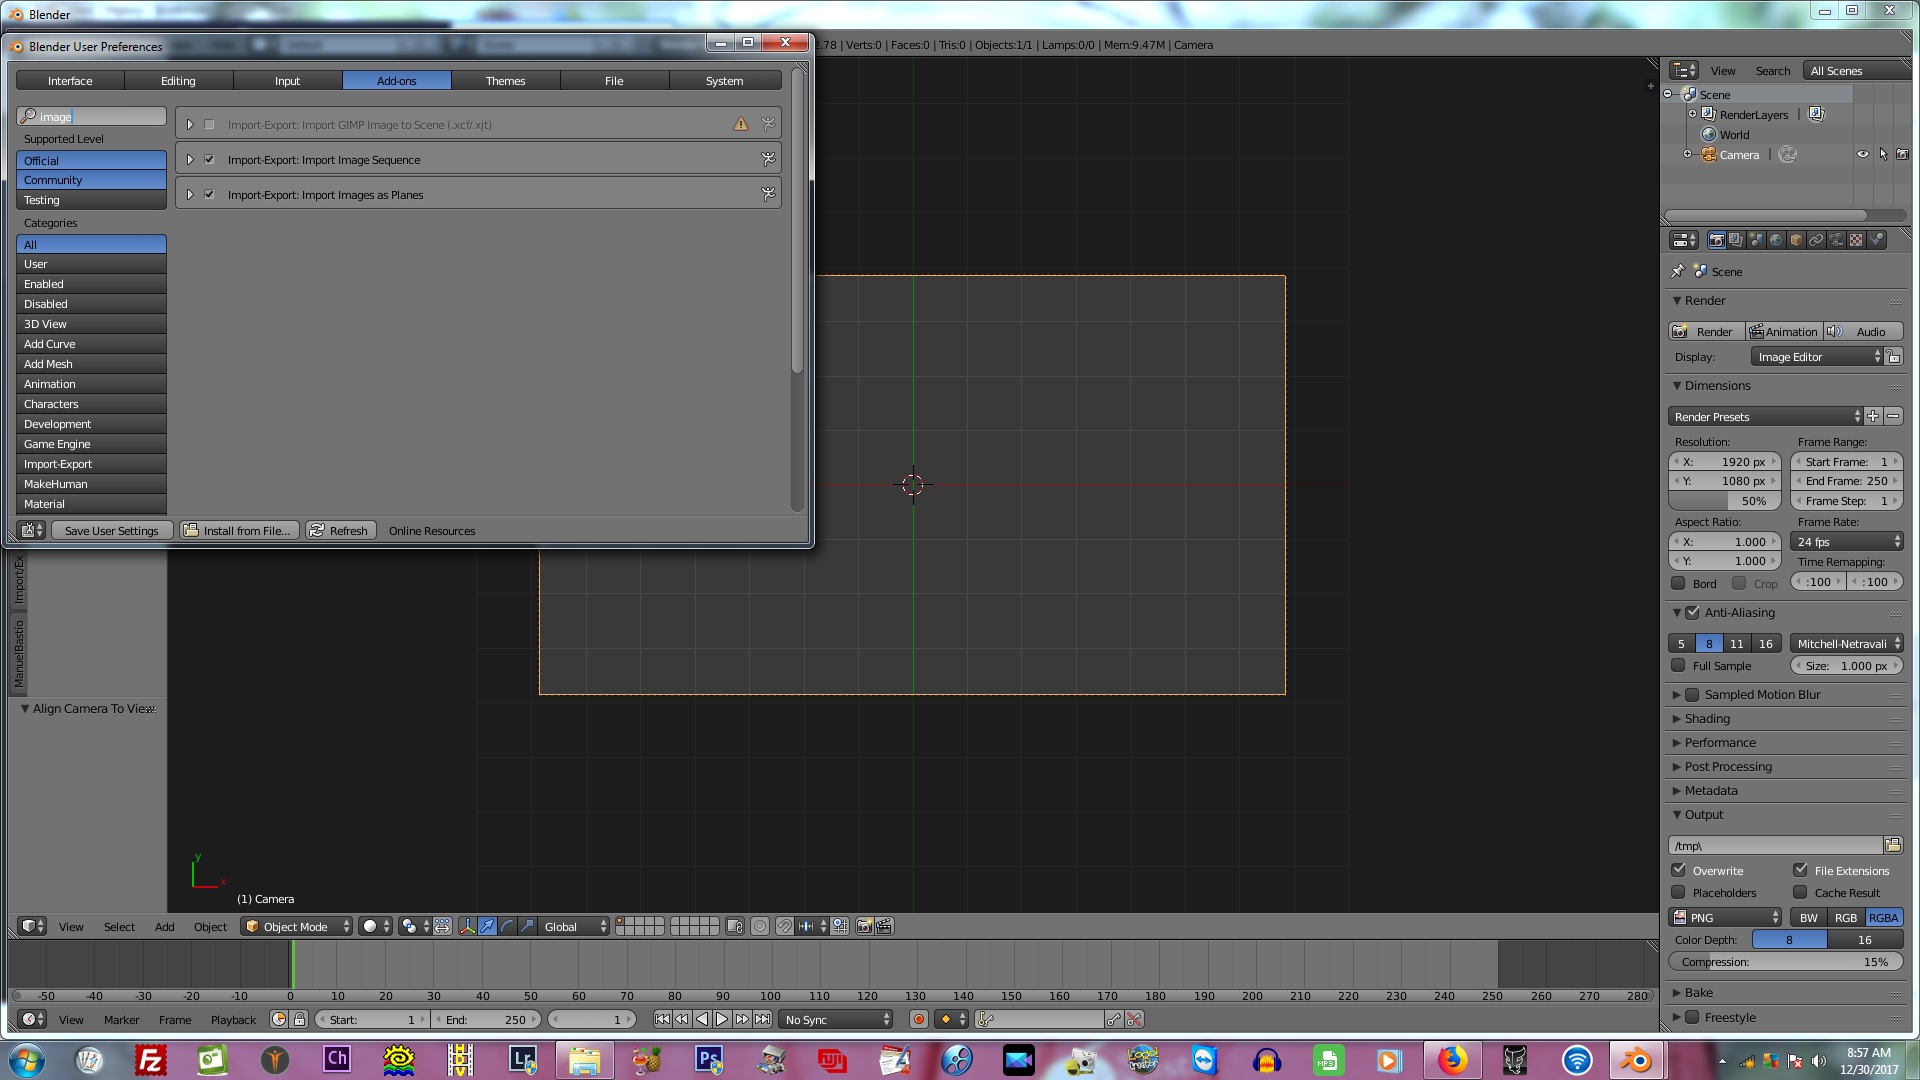
1. In the search box type the word “image”.
2. Then select “Import-Export:Import Image as Planes” and click on “Save User Settings”.
3. We are now ready to import our project images, but first we have to create them.
Open your favorite image editor and create x2 images with the following size: 1920×1080.
1. Save the first image as “[subtxr01].jpg” and the second image as “[subtxr02].jpg“, exactly as you see it here, but without the quotes.
2. You can put numbers on them as I did to make your workflow easier, but it is not compulsory. It’s just easier for me in the work-area.

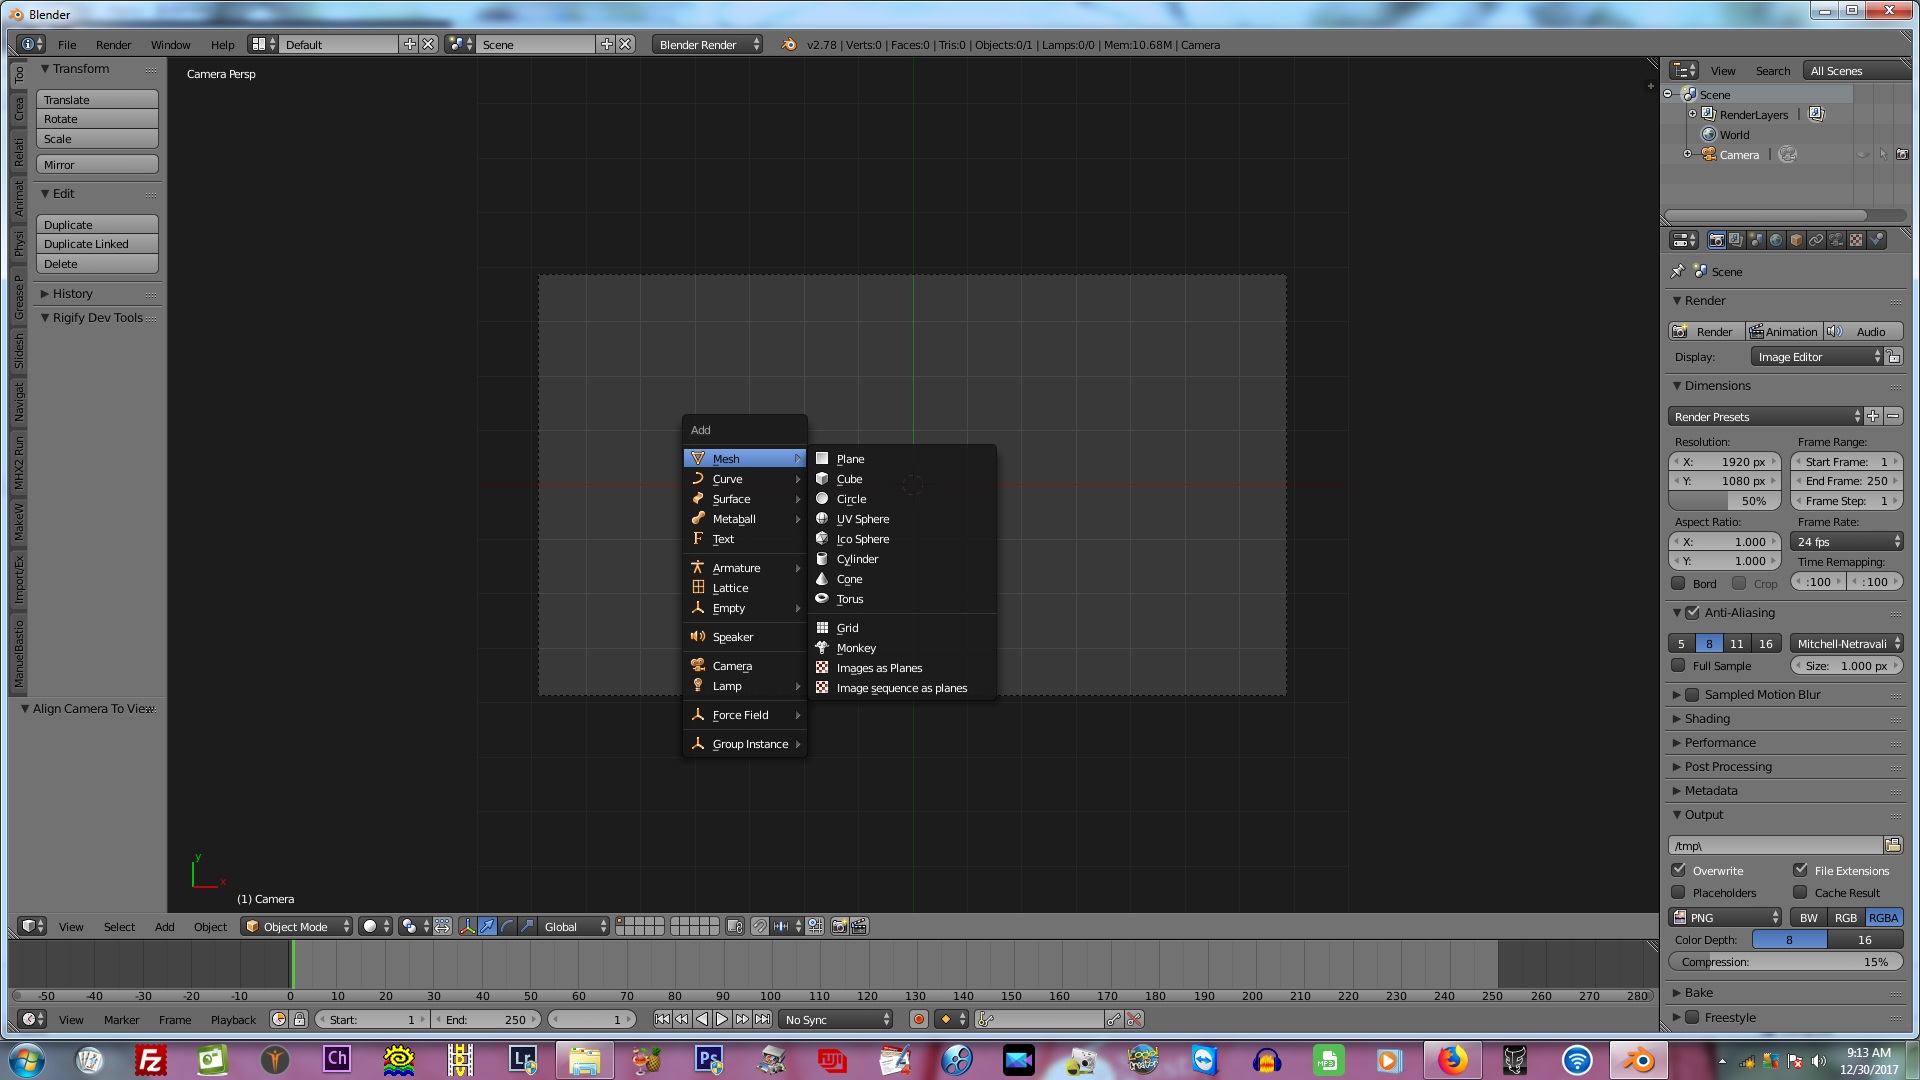
Now that we have created our two images, we are ready to import them into our Blender work-space. We do this by pressing SHIFT+A simultaneously on our keyboard. You will be presented with a popup as in the below image. Click on “Images As Planes”
After pressing SHIFT+A, you will be presented with the Blender browser window. Browse to where you saved your x2 project images and select them both by holding in SHIFT while clicking on each of them with the left-mouse button.
Now click on the button “Import Images as Planes” in the top right-hand. See the image below.

You will now be presented with the following screen in Blender.
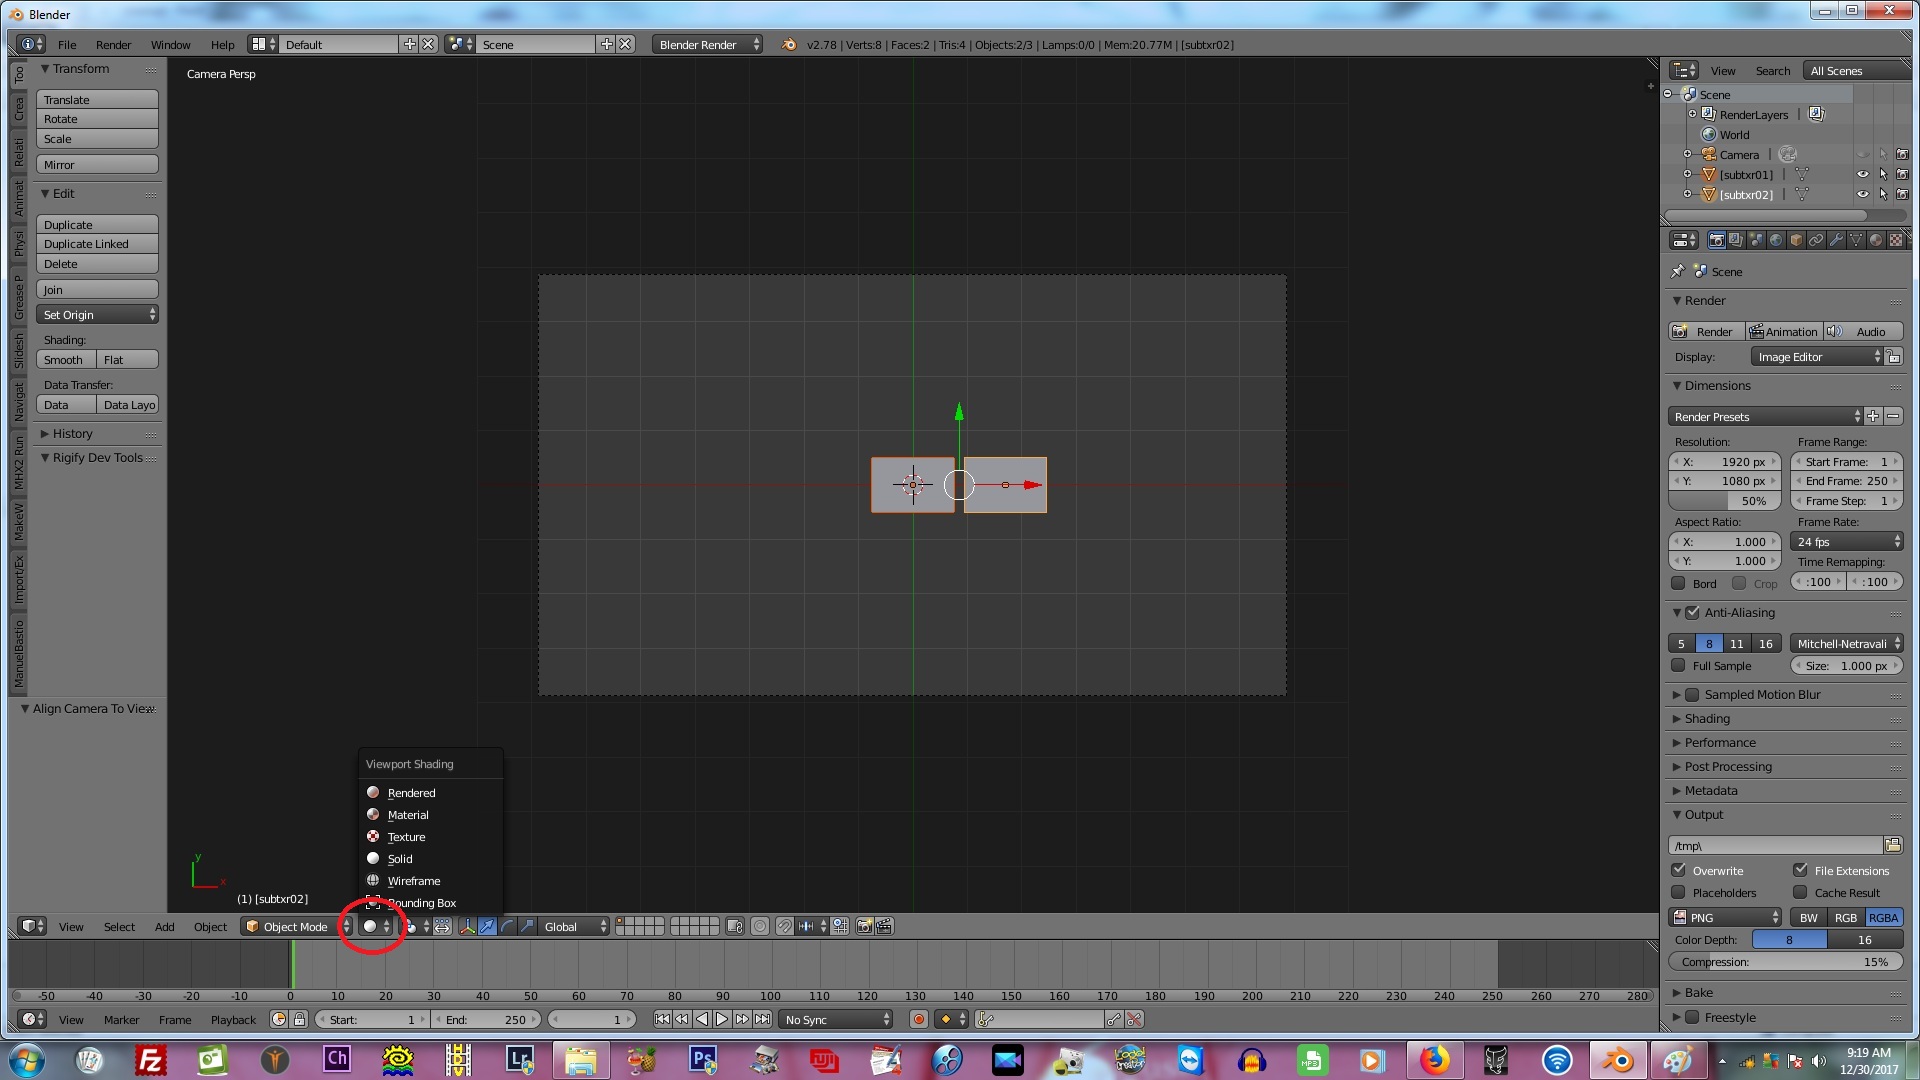
As you will notice, we cannot yet see our texture on our images, but only as solids. To be able to see the textures, go down to the round ball in the work-area (see image below), click the arrow next to it and select “Texture” from the popup.
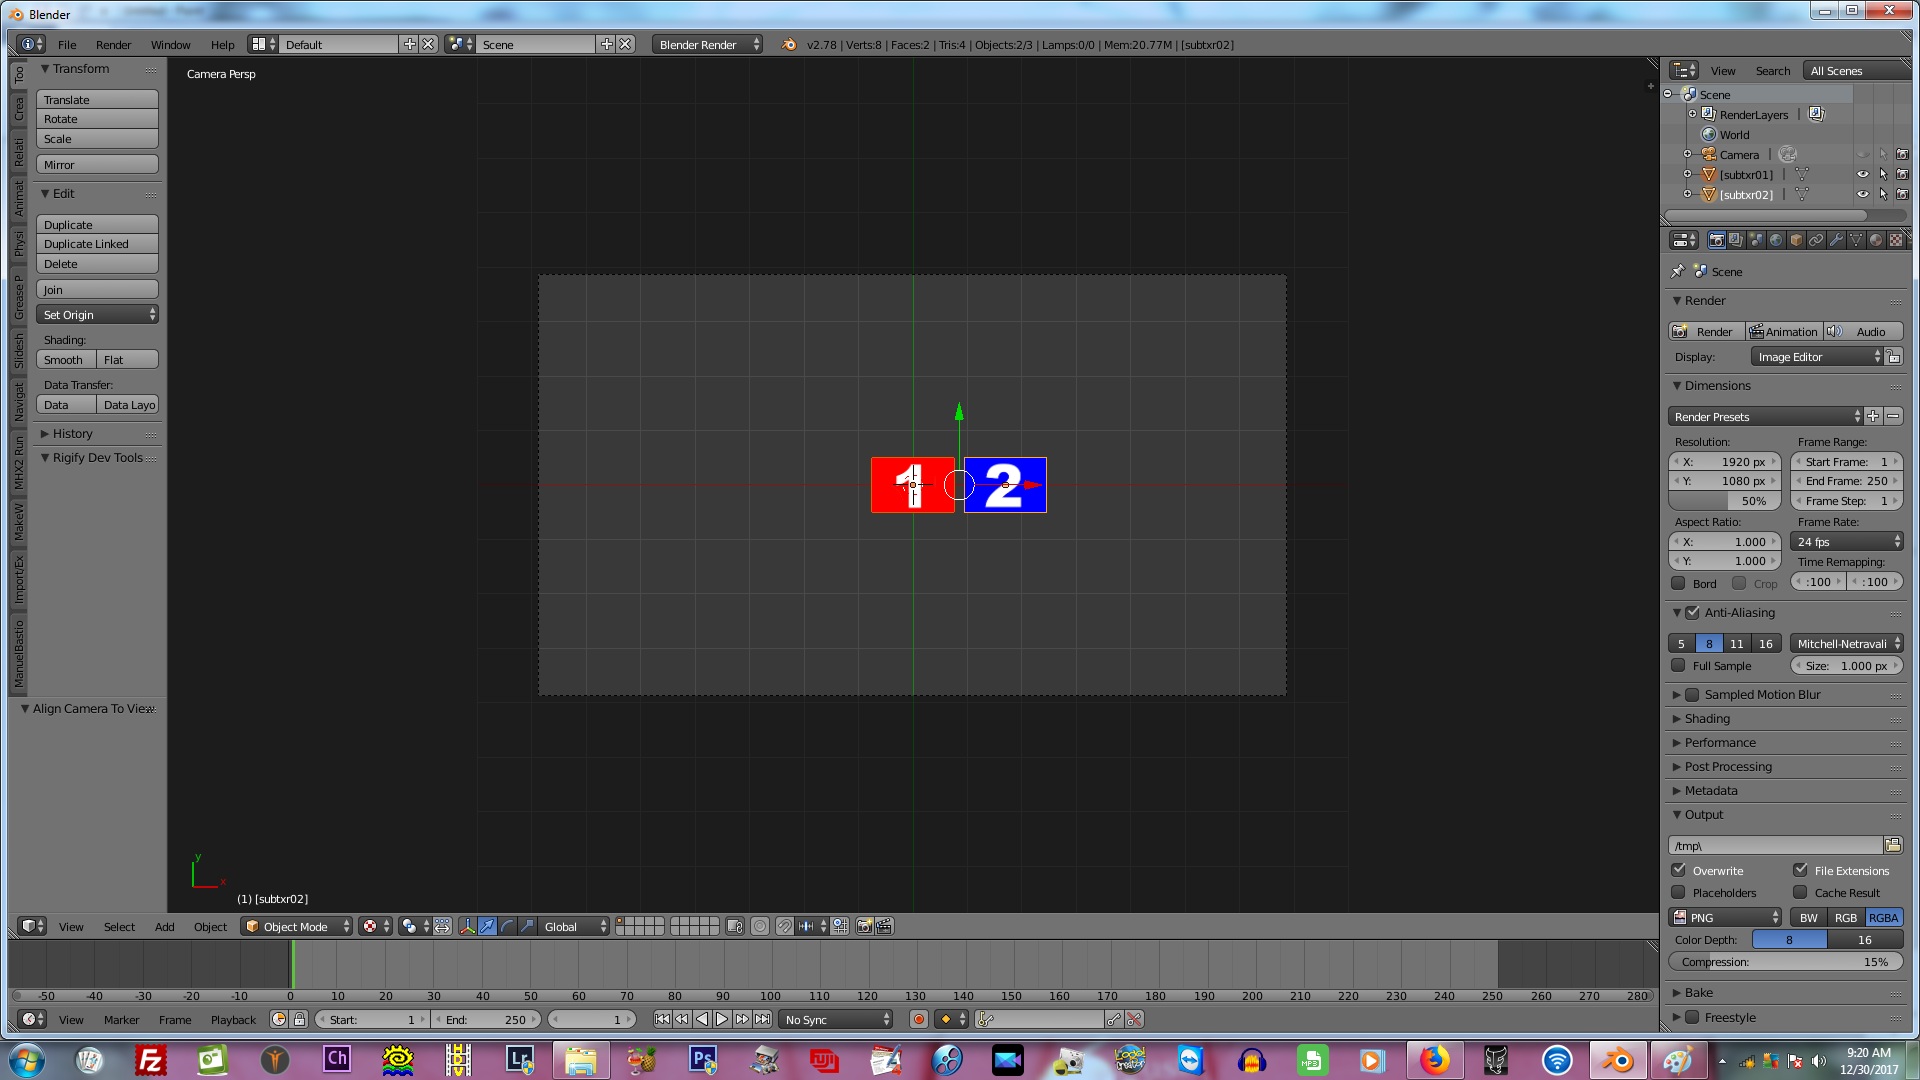
Now you will be able to see the textures and your Blender work-space will look like the below image.
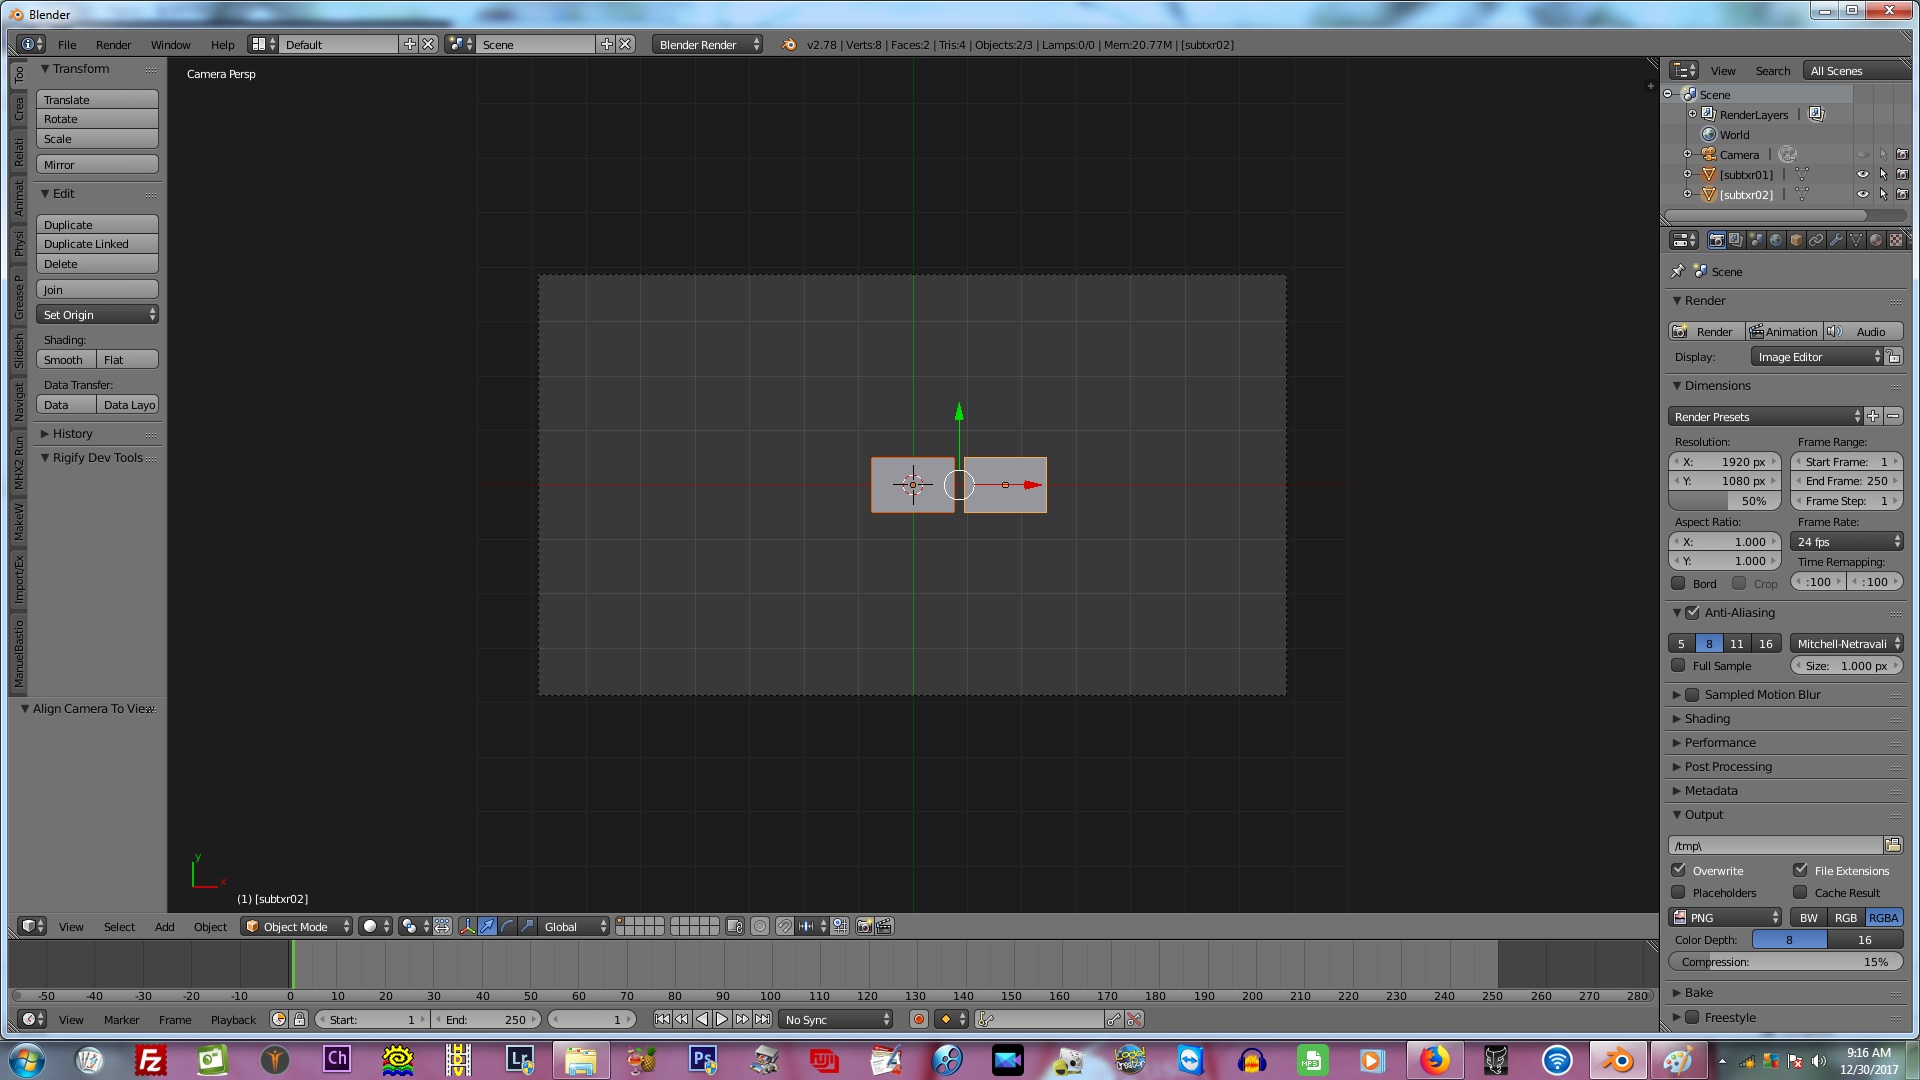
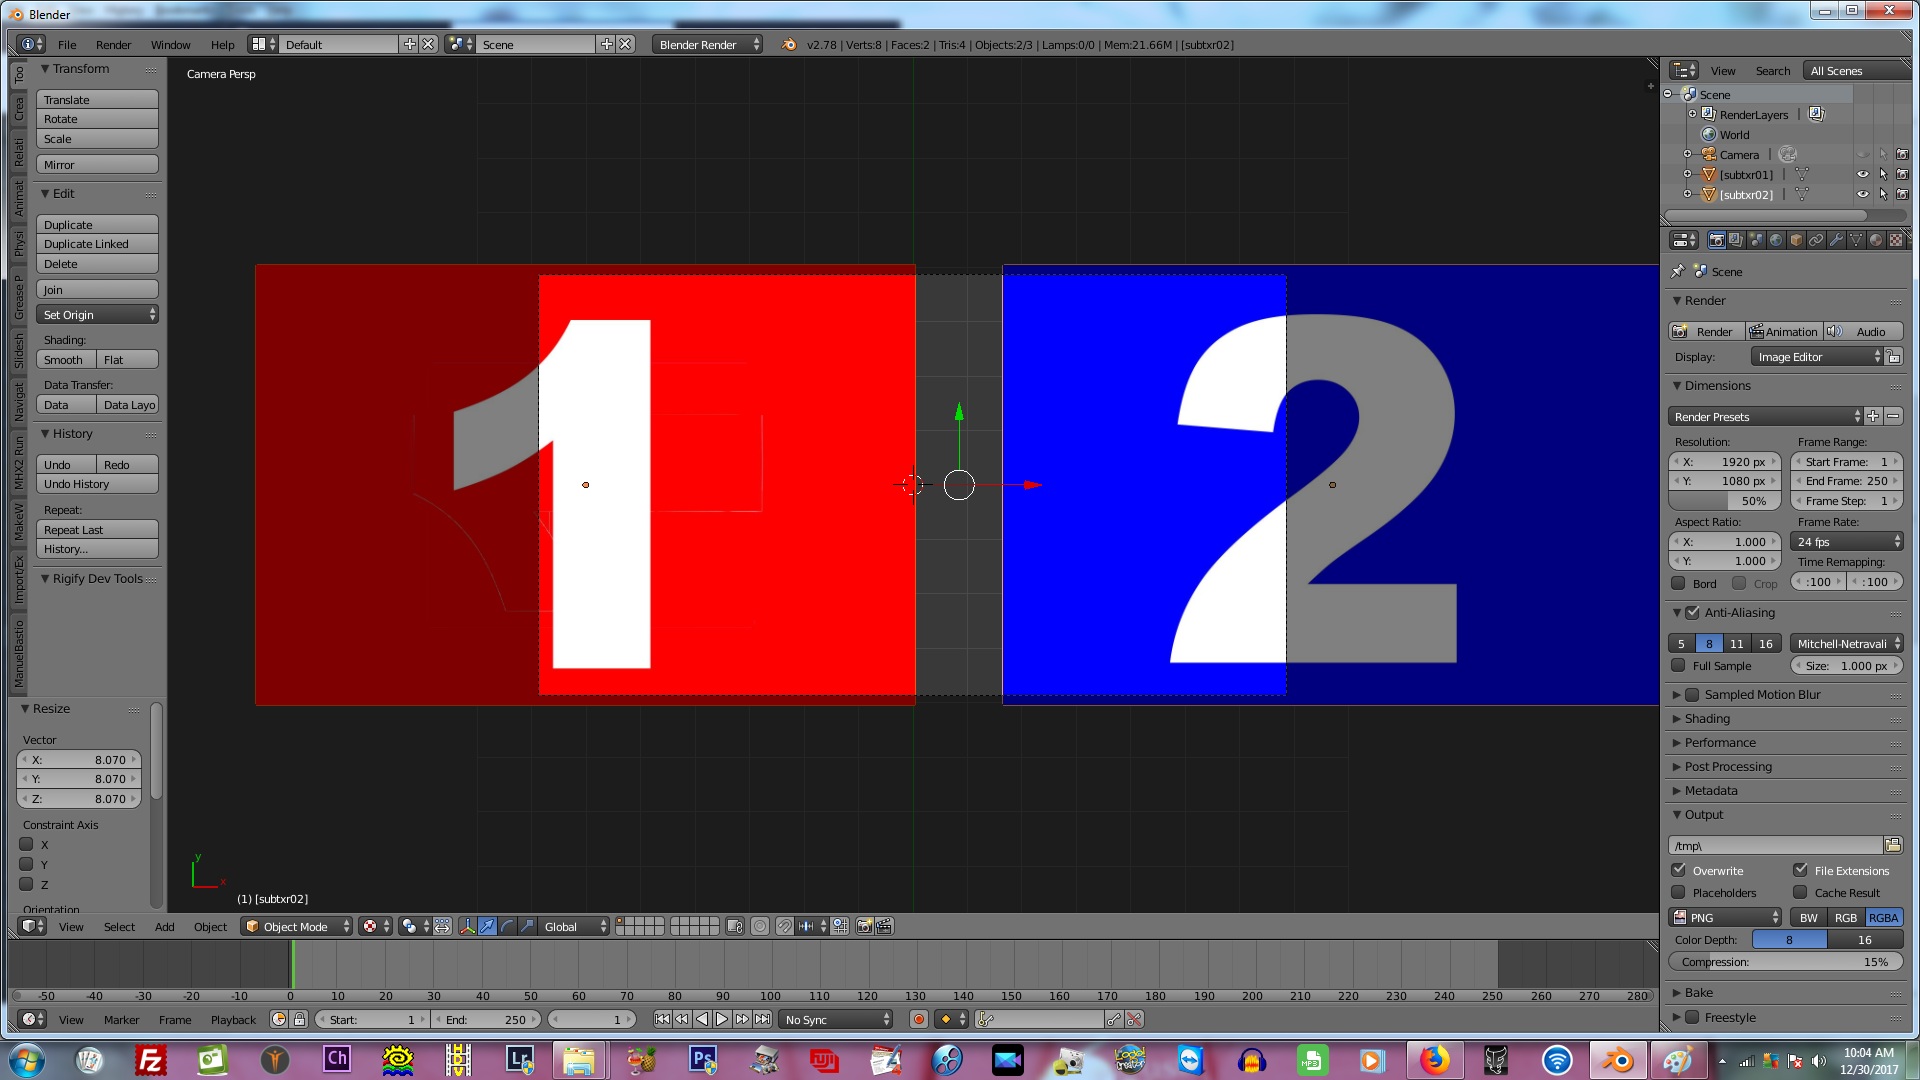
Make sure that both images are selected. You do this by right-clicking you first image and then holding in SHIFT and right-clicking your second image. When you have both images selected, press “S” on your keyboard and move you mouse away from the images without clicking anything. Just move the mouse and you will see that the images both scale to a larger size or smaller depending on which direction you move your mouse. After you dragged the images to the desired size, click the left-mouse button to lock the size. The mouse will now be freed from the images. See image below.
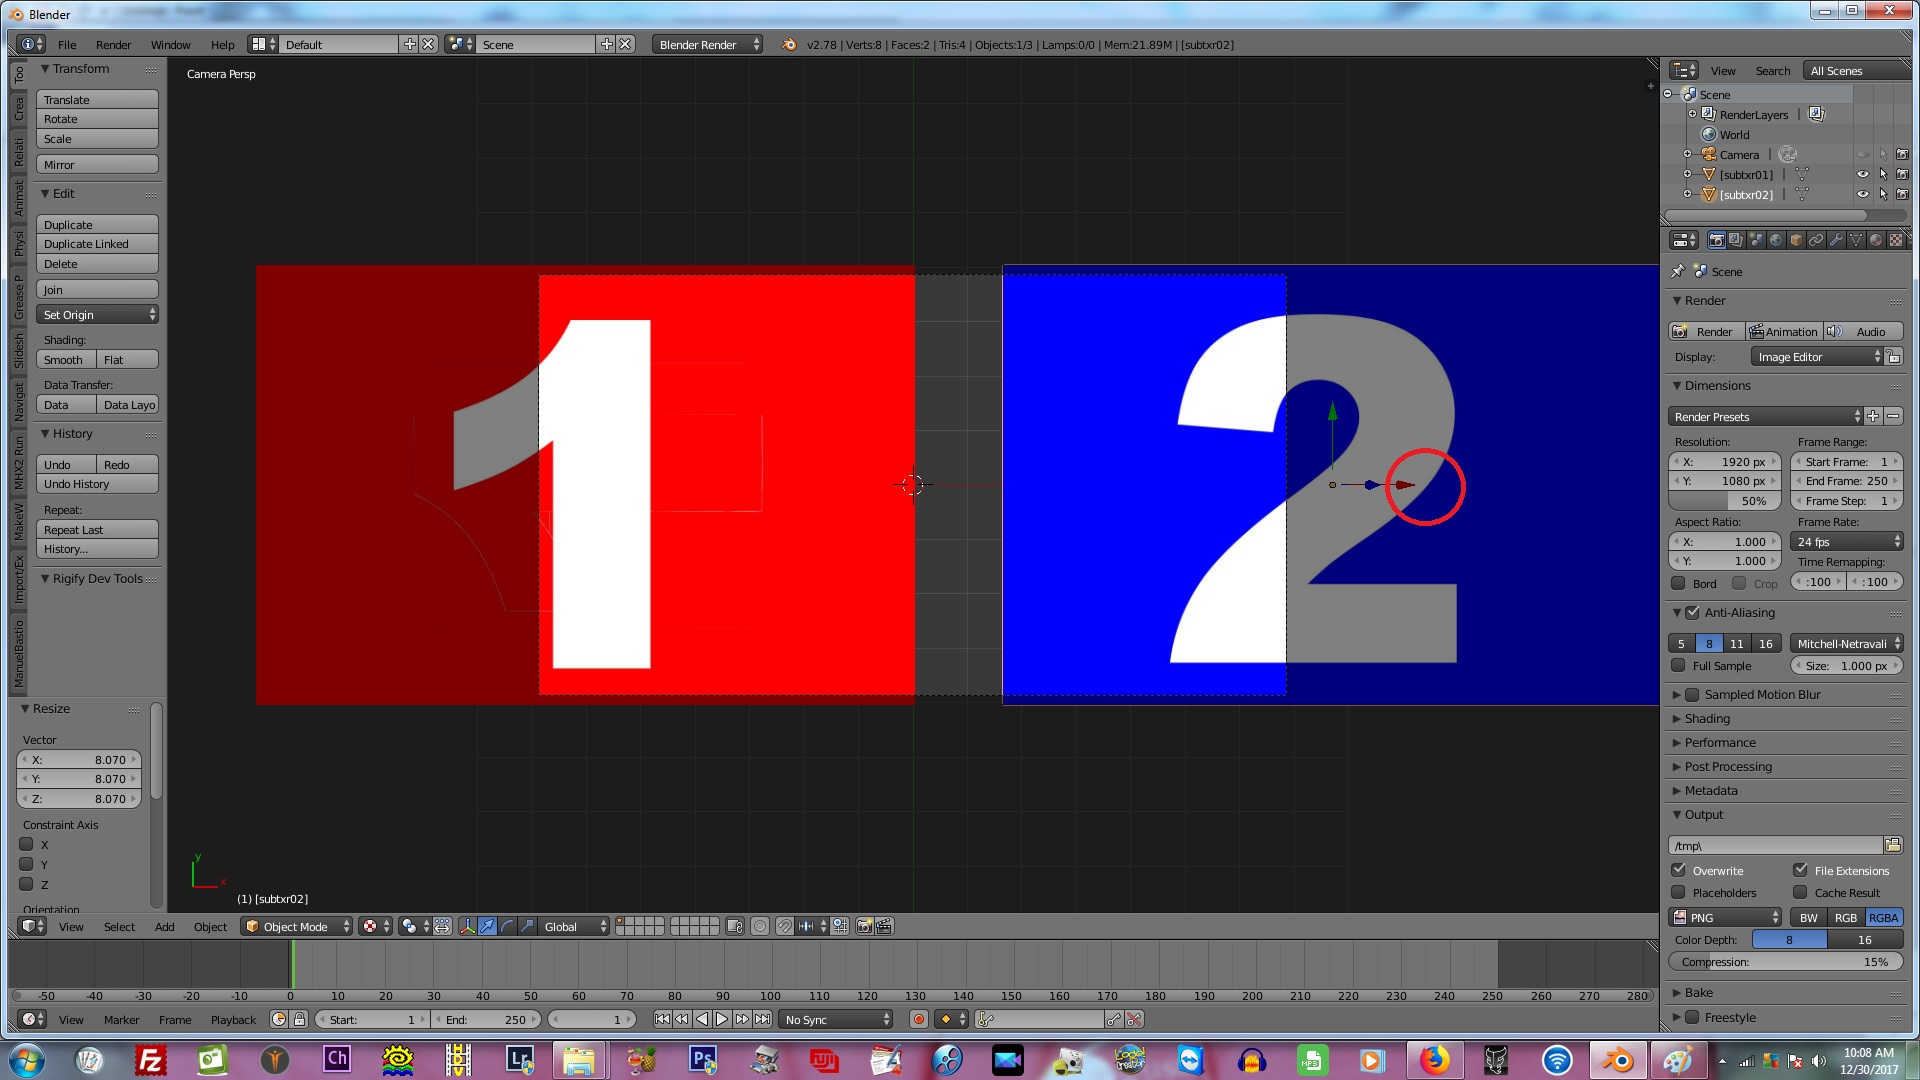
Now drag image 2 out of the way by first selecting it with the right-mouse button and then dragging it on the X-Axis with the RED Arrow. See image below.
Now select the first image and drag it to the center of your view-port as in the below example.

If you happen to have gaps on both sides of your image in the camera view, you can scale it on the X-Axis by pressing “S” then “X” on the keyboard and dragging your mouse. In the below example I’ve done this and now my image covers the whole view-port of the camera. Do the for image 2 as well.

Ok, now that our images have been scaled, we are ready to animate them. This we will do in our next tutorial. Have any questions? Please post them in the comments section.
Now let’s go to PART #3 our final part of this tutorial.
Hi Godfrey, I ran into a problem at step 2 when you instruct us to select “Import-Export: Import Image Sequence” . I don’t see that option to choose. I only have two choices.. I see “import GIMP Image” and “Import Image as Planes”. I don’t have “Import Image Sequence” as a choice.
Am I doing something wrong?
Hi Larry.
I have both plugins installed in Blender. You can use the “Import Image as Planes”. I’ve updated the post as the “Import Image as Planes” is the default in Blender.
i am not understand how to create if you have video tutorials plz give me.
thanks…
I am still busy with the tutorials. Please be patient. It takes a lot of time
Any chance on seeing the finished tutorial.
Hi
Just finished with part 3 of the tutorial. Part 3 is a video tutorial. Hope you enjoy it 🙂
https://oneclickmobi.com/powerdirector-templates/custom-powerdirector-2d-and-3d-transitions-part-3/